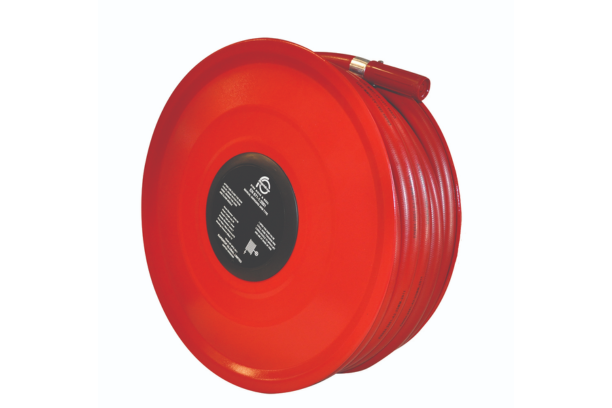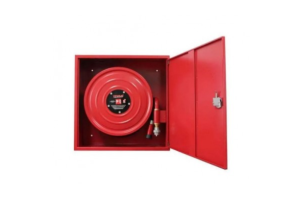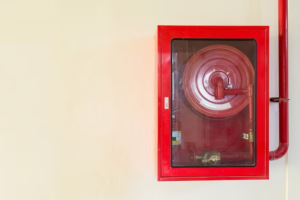
Fire hose reels are essential firefighting equipment that can swiftly control small fires in their early stages, providing a vital first line of defense before professional help arrives. Proper installation is crucial to ensure that fire hose reels are easily accessible and fully functional when needed. In this blog, we present a step-by-step guide to fire hose reel installation, emphasizing the importance of these devices in fire safety protocols.
Step 1: Evaluate Fire Hazard Zones
Begin the installation process by conducting a thorough assessment of the building’s layout and identifying potential fire hazard zones. Common areas that benefit from fire hose reel installation include kitchens, workshops, mechanical rooms, and other spaces prone to flammable materials or ignition sources. This evaluation ensures that fire hose reels are strategically placed in areas where they can be most effective.
Step 2: Select the Appropriate Fire Hose Reel
Choosing the right fire hose reel is critical for optimal performance. Consider factors such as the length and diameter of the hose, water flow rate, and compatibility with the available water supply. Additionally, ensure the fire hose reel is made from durable materials to withstand various environmental conditions and potential wear and tear.
Step 3: Determine Installation Location
Locate suitable spots for mounting the fire hose reels. Install the reels on solid walls or specially designed brackets, ensuring they are clearly visible and accessible to all occupants. Adequate signage can help people quickly locate the fire hose reels during an emergency.
Step 4: Mounting the Fire Hose Reel
Position the fire hose reel at the chosen installation location and mark the spots where the bracket or wall-mounted supports will be placed. Use a level to ensure the mounting is straight and flush against the wall. Once the positioning is accurate, securely attach the fire hose reel to the bracket or wall using appropriate fixings.
Step 5: Connect to the Water Supply
Before connecting the fire hose reel to the water supply, shut off the main water source and drain any residual water from the pipes. Use a suitable connector to link the inlet valve of the fire hose reel to the water supply. Perform a pressure test to ensure consistent water flow and pressure.
Step 6: Test and Inspect
Once the installation is complete, test the fire hose reel’s functionality and inspect for any potential leakages or issues. Unwind the hose and turn on the water supply to check water flow and pressure. Ensure that the hose can be easily pulled out and retracted smoothly after use.
Step 7: Educate Occupants on Usage
Conduct fire safety training sessions to educate building occupants on the proper usage of fire hose reels. Teach them how to release the hose, operate the nozzle, and control water flow. Regular fire drills will help occupants become familiar with the equipment and fire safety procedures.
Conclusion
Fire hose reels are invaluable firefighting tools that play a crucial role in safeguarding lives and property during a fire emergency. Proper installation and regular maintenance ensure their effectiveness when needed the most. By following this step-by-step guide to fire hose reel installation and conducting routine inspections, you contribute significantly to creating a safer environment for everyone.
Remember, fire safety is a shared responsibility, and the presence of well-maintained fire hose reels empowers occupants to take immediate action during an early-stage fire incident. Invest time and effort into fire preparedness, and equip your building with reliable fire hose reels to enhance its resilience against potential fire hazards.


